
Key Takeaways
- On/Off: The big button (usually orange or yellow) is your power switch. Press it once to start, once to stop.
- Mode Selection: Press the 'Mode' button to cycle through icons. Snowflake is cool, Sun is heat, Teardrop is dry/dehumidify.
- Fan Speed: Don't leave it on low if it's super hot. Use 'Auto' to let the unit decide the best efficiency.
- Vane Control: This controls where the air blows. If you have a 'Wide Vane' button, that controls left/right airflow.
- Reset: If the screen looks weird or the unit isn't responding, use a paperclip to hit the tiny 'Reset' hole near the batteries.
Getting Started: The Absolute Basics
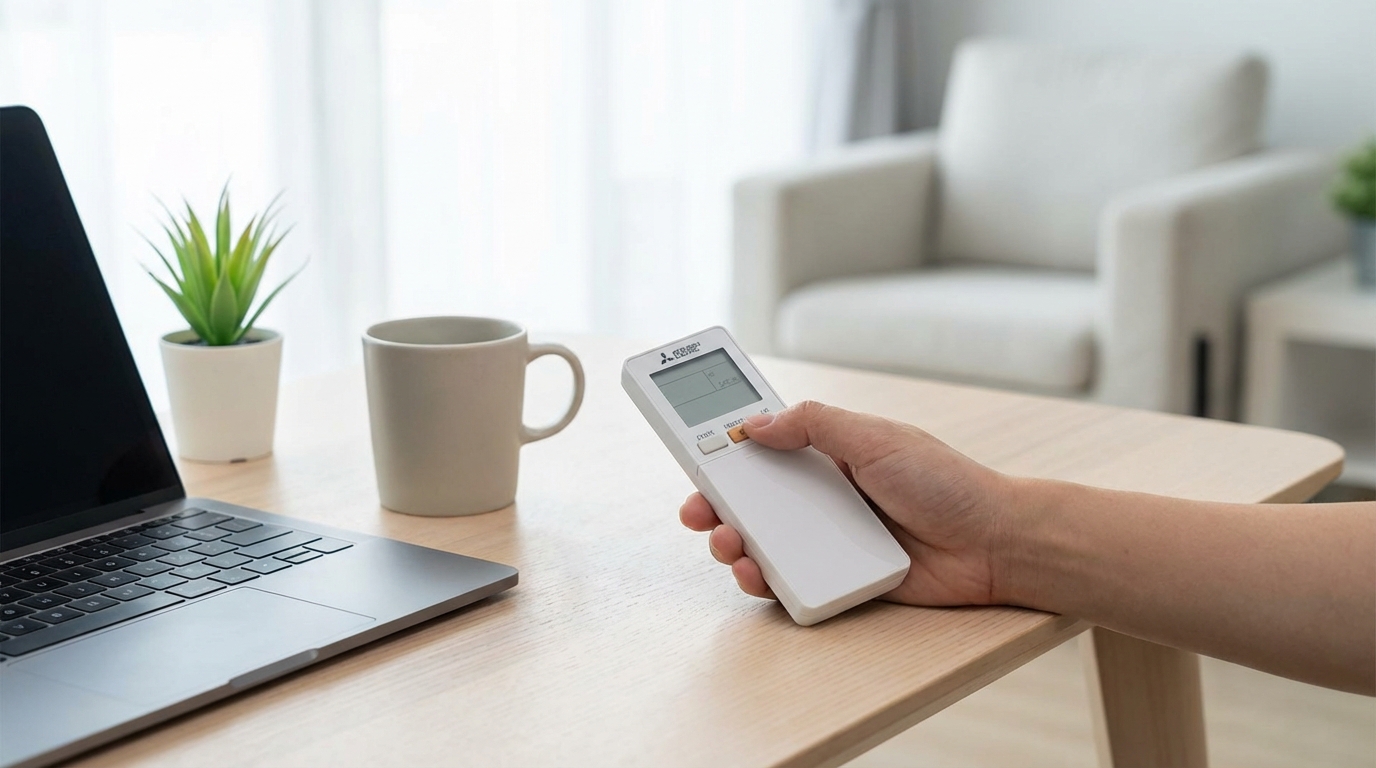
Grab your remote and look at the screen. To get the air conditioner running right now, just press the big ON/OFF button. It’s usually the largest button on the remote and might be colored orange. Once the unit beeps and the vents open you are in business.
If you just want to change the temperature, use the TOO WARM or TOO COOL buttons (sometimes labeled with simple Up and Down arrows). Mitsubishi Electric makes these pretty intuitive. Up makes the target temperature higher, down makes it lower. According to most HVAC experts and even the Mitsubishi manual, it's best to not set the temp too extreme right away. Setting it to 60°F won't cool the room faster than setting it to 72°F, it just makes the machine work harder for longer.
That is the five-second version. But if you want to actually understand what that little teardrop symbol means or why your AC is blowing cold air when you want heat, keep reading. We're gonna break down every confusing button on this thing.
Decoding the "Mode" Symbols
This is where 90% of people get confused. You press the MODE button, and a bunch of tiny pictures cycle on the screen. If you pick the wrong one, you're going to be uncomfortable. Here is what they actually mean.
The Snowflake (Cool Mode)
This is the one you want for summer. When you see the Snowflake icon, the air conditioner is in cooling mode. It takes hot air from your room, runs it over cold coils, and pushes it back out. Use the arrow buttons to set your desired temperature. If it's 90 degrees outside, setting this to around 74 or 75 usually feels pretty great.
The Sun (Heat Mode)
If you see a Sun icon, you are in heating mode. This reverses the cycle. It takes heat from the outside air (yes, even when it's cold out) and pumps it inside.
Quick tip: When you first turn on Heat mode, the fan might not start spinning immediately. Don't panic. The unit is just "pre-heating" so it doesn't blast you with cold air. Give it a few minutes.
The Teardrop (Dry Mode)
The Teardrop icon stands for Dry mode. This acts like a dehumidifier. It focuses on removing moisture from the air rather than just dropping the temperature.
Honest advice here-use this when it's muggy and raining but not super hot. If you use this in the middle of a heatwave it might not feel cool enough. It runs the fan slower to pull more water out of the air.
The Triangular Arrows (Auto Mode)
If you see an icon that looks like arrows cycling or an 'A', that’s Auto mode. In this setting, the Mitsubishi unit looks at the room temperature and decides for itself whether it needs to heat or cool to hit your target number.
I usually avoid this one if the weather is weirdly fluctuating. Sometimes it gets confused and starts heating when I just wanted the fan to stop. But for general use, it's fine.
The Fan (Fan Mode)
This icon usually looks like a propeller. This just moves air around. The compressor outside shuts off, so you aren't using much electricity. It's basically a fancy ceiling fan. Use this in spring or fall when you just want a breeze.
Controlling the Airflow: Fan and Vane
Okay so you have the temp set, but the air is blasting you directly in the face and it's annoying. You need to adjust the Fan and Vane settings.
Fan Speed
Press the FAN button to change how hard the air blows. You’ll see bars on the screen go up and down like cell phone reception bars.
- High: Good for cooling the room down fast when you first get home.
- Low/Quiet: Good for sleeping.
- Auto: The unit speeds up when the room is hot and slows down once it reaches the target temp. This is usually the best "set it and forget it" option.
Vane Control (Up/Down)
The VANE button changes the vertical direction of the flap. Press it repeatedly to step through the positions. You can aim it at the ceiling (good for cooling, since cold air falls) or at the floor (good for heating, since hot air rises).
There is also usually a "Swing" setting where the flap keeps moving up and down. This helps circulate air if you have a room with weird corners.
Wide Vane (Left/Right)
Not all remotes have this, but if yours does, it's a game changer. The WIDE VANE button moves the internal louvers left and right. If your couch is to the left of the AC unit, use this to aim the air over there without moving the furniture.
Advanced Features You Should Probably Use
Most people ignore the bottom half of the remote, but there is some gold down there.
Econo Cool
You might see a button labeled ECONO COOL. According to Mitsubishi Electric documentation, this feature adjusts the airflow swing and raises the temperature setting by 2 degrees F automatically.
Why would you want that? Because with the special airflow pattern, you feel cooler than the actual temperature. It saves electricity (about 20%) without making you feel hot. It’s a great way to save a few bucks on the bill.
Powerful Mode
Sometimes labeled as POWERFUL. This is the "I just got home from the gym and I'm dying" button. It ignores your settings and blasts the fan at maximum speed and lowest temperature for about 15 minutes to cool the room instantly. After 15 minutes, it goes back to your previous settings automatically.
i-Save / Smart Set
This button is basically a memory saver. Let's say you like to sleep at 68°F with the fan on low. You can program that setting into the i-Save button. During the day, you have the AC set to 74°F. When you go to bed, just hit i-Save and it snaps to your sleeping preference. Hit it again to go back.
Setting the Timer (Without Losing Your Mind)
I’ll be honest, the timer on these things can be a little fiddly. There are usually two types of timers depending on your specific remote model.
The Simple On/Off Timer
Look for buttons that say START and STOP under the timer section.
- Press START. You'll see a time blinking on the screen.
- Use the arrow buttons to select the time you want the AC to turn on.
- Press START again to lock it in.
Do the same with STOP to tell it when to shut down. This is great for having the house cool down right before you get home from work.
The Weekly Timer
Some fancier remotes allow you to set a schedule for every day of the week. This involves pressing the "Edit" button and cycling through days (Mon, Tue, Wed...). It takes a while to set up, but once its done, you never have to touch the remote again. If you have this remote, I'd suggest looking up the specific manual for your model number because the button presses are kinda specific.
Troubleshooting: When It's Acting Weird
Sometimes the remote acts up. The screen might fade, or the unit just ignores you.
Check the Batteries
This sounds dumb, but it's usually the problem. Mitsubishi remotes usually take two AAA batteries. Slide the cover down (sometimes you have to pull it pretty hard) and swap them out. Make sure the polarity (+ and -) is correct.
The Reset Button
If you put in new batteries and it's still acting funny, look for a tiny hole labeled RESET. It's usually right next to the batteries or at the bottom of the remote.
Take a paperclip or the tip of a pen and gently press that button. The screen will flash and reset to factory defaults. This fixes glitchy remotes almost every time.
General Maintenance Tips
To keep the remote working well, don't drop it. I know, obvious right? But the screens are LCD and can crack easily. Also, keep it out of direct sunlight. If the remote sits in the sun all day, the plastic can yellow and the battery life drains faster.
Also, clean the transmitter eye. That’s the little dark plastic bit at the very top of the remote. If it gets covered in dust or sticky fingerprints, the signal won't reach the AC unit on the wall.
Why Is My Mitsubishi Remote Different?
Mitsubishi Electric has been making these units for a long time. They have the "M-Series", "P-Series", and "City Multi". While the symbols (Snowflake, Sun, etc.) are universal, the button layout changes.
Some remotes have a slide-down cover that hides the advanced buttons. If you can't find the "Mode" or "Vane" buttons, try sliding the bottom half of the remote case downward. It might reveal a hidden panel.
Frequently Asked Questions
Q: Why is my Mitsubishi AC not responding to the remote?
A: First check the batteries. If they are fresh, look at the screen. Is there a "Lock" icon? You might have accidentally locked the buttons. If not, try the Reset button near the battery compartment.
Q: What does the symbol with the droplets and the star mean?
A: That is usually the "Dehumidify" or "Dry" mode. It cools slightly but focuses on taking humidity out of the air.
Q: How do I change from Celsius to Fahrenheit?
A: This varies by model, but usually, you have to press the Reset button while holding down the Clock or Temperature buttons. On some models, there is a tiny switch inside the battery compartment that says "C / F". Flip that switch and hit reset.
Q: Why does the light on the AC unit blink?
A: A blinking light on the wall unit usually means an error code. Count the blinks. If it blinks a specific pattern (like 2 blinks, pause, 2 blinks), check the manual or call a tech. It could mean a sensor is dirty or the unit is low on refrigerant.
Q: Can I use a universal remote with my Mitsubishi Electric AC?
A: You can, but you might lose some features like "i-Save" or specific vane controls. If you lost your original remote, I'd recommend buying a genuine replacement or a high-quality universal remote designed specifically for Mini-splits.