
Key Takeaways: Quick Fixes for Your LiftMaster Remote
- Check the "Lock" Button: If the wall switch works but the remote doesn't, the lock feature is likely on. Press and hold the lock button on the wall console for 2-3 seconds to disengage it.
- Swap the Batteries: Cold weather kills batteries faster than you think. Even if the light turns on, the voltage might be too low to send a signal.
- Reprogram the Remote: Sometimes the opener just "forgets" the remote. You'll need to hit the "Learn" button on the motor unit.
- Check LED Bulbs: Cheap LED light bulbs in the opener can block the remote signal. Unscrew them and test again.
- Inspect the Antenna: Make sure the hanging wire on the motor unit isn't tucked up inside the metal housing.
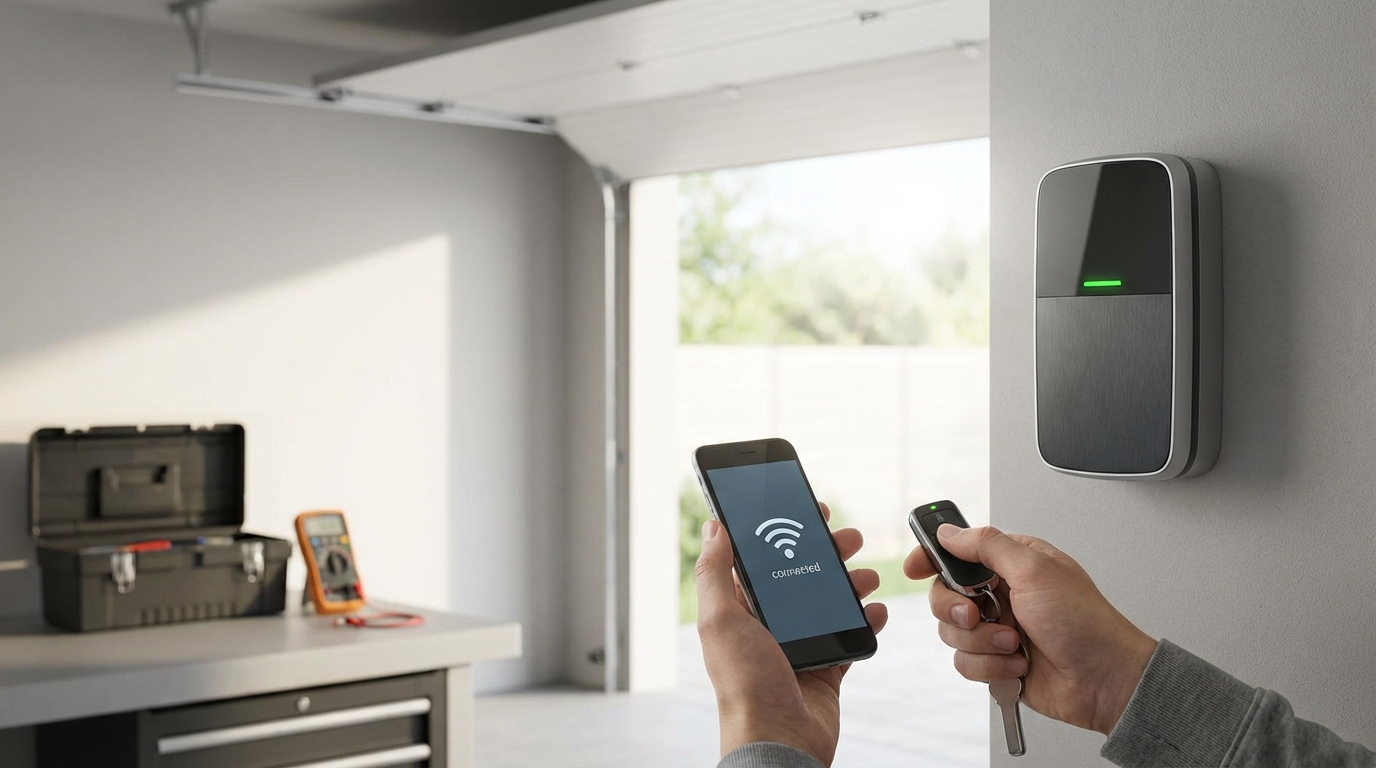
The "Lock" Button: The #1 Reason Remotes Stop Working
I am starting with this because it is the solution about 50% of the time, and it drives people crazy when they find out how simple it is. If your LiftMaster remote isn't opening the door, but the wall switch inside your garage works perfectly, you probably engaged the "Lock" feature by accident.
Most LiftMaster wall consoles have a button labeled "Lock" or a padlock icon. If someone pressed this button (maybe a kid playing around or you leaned on it), it tells the garage door opener to ignore all radio signals. This is a security feature for when you go on vacation, but it is annoying when you don't know its on.
The Fix: Go to your wall button. Look for a blinking LED light on the button itself. If it is blinking fast, the lock is on. Press and hold the "Lock" button for about 2 to 3 seconds. The light should stop blinking and turn solid. Try your remote again. If it works, you're done. Go grab a coffee.
Troubleshooting the Batteries (It's Not Always What You Think)
Okay, so the lock button wasn't the issue. The next logical step is the power source. I know, you probably already thought of this, but hear me out.
Just because the little red LED light on your remote turns on when you push the button doesn't mean the battery is good. I've seen this happen a hundred times. The battery has enough juice to light up that tiny LED, but not enough power to shoot a radio frequency 20 feet through a heavy garage door.
Most LiftMaster remotes use a CR2032 3-volt coin battery, though some older "brick" style remotes use a 9-volt or a 10A20 battery. According to battery manufacturers like Duracell, lithium coin batteries don't handle extreme cold well. If you live somewhere where it freezes, leaving your remote in the car overnight can drain the voltage significantly.
How to Check the Contacts
When you pop the remote open (usually you can just use the metal visor clip to twist the case open), look at the metal contacts touching the battery. Are they dirty? Is there a little bit of rust or corrosion? If the battery leaked, you can clean it with a Q-tip and a tiny bit of white vinegar. Also, sometimes the metal prongs get pushed flat. You can gently-and I mean gently-bend them up a little so they make tighter contact with the battery.
Reprogramming: Retraining Your Opener
If the battery is fresh and the lock is off, your garage door opener might have just "forgotten" the remote. This happens sometimes after power outages or electrical surges. You need to re-sync them. It's like pairing a Bluetooth speaker to your phone, but easier.
Grab a stepladder. You're gonna need to get up to the motor unit on the ceiling. Here is the step-by-step:
- Locate the "Learn" Button: On the back or side of the motor unit, there is usually a plastic light cover. You might need to flip that down. Look for a button that is square or round. It will be colored Yellow, Purple, Red/Orange, or Green.
- Clear the Memory (Optional but Recommended): If you have been having a lot of trouble, sometimes it helps to wipe the slate clean. Press and hold the Learn button for about 6 seconds until the LED light next to it goes out. Warning: This erases all remotes and keypads. You will have to reprogram everything. If you just want to add the remote back, skip this step.
- The Pairing Process: Press and release the Learn button quickly (like a doorbell). The little LED light next to it will glow steadily. You now have 30 seconds.
- Press the Remote: Step down from the ladder (safety first!) or just reach out. Press and hold the button on your remote control that you want to use.
- Wait for the Click: The light on the garage door opener unit should flash, or you will hear two clicks. That means the opener has accepted the code.
If you do this and the light bulbs on the main unit flash but the door doesn't move, you have a successful pair, but something else is wrong (likely the lock button again or a mechanical issue).
The Invisible Enemy: LED and CFL Interference
This is a weird one, but it is becoming super common. Did you recently change the light bulb inside your garage door opener unit? Or maybe you installed big LED shop lights in the garage?
According to LiftMaster and general electronics knowledge, cheap LED or CFL (the curly ones) light bulbs emit a radio frequency interference that sits right on the same bandwidth as your remote control (usually 315 MHz or 390 MHz). Basically, the light bulb is screaming louder than your remote, and the garage door opener can't "hear" the command to open or close.
The Test: Unscrew the light bulbs in your garage door opener. Also, turn off any other LED lights in the garage. Now, try the remote. If it works perfectly with the lights off, you found your problem.
You don't have to live in the dark, though. You just need to buy "garage door compatible" LED bulbs. Genie and LiftMaster both make bulbs specifically shielded to prevent this interference. They cost a few bucks more but its worth it to not be annoyed every time you come home.
Check the "Safety Eyes" (Sensors)
Usually, if the safety sensors are the problem, the door will open fine but it won't close. However, sometimes the logic board gets confused and locks everything down.
Look at the bottom of your garage door tracks. There are two little black boxes (the eyes) pointing at each other. one sends a beam, the other receives it.
- Amber Light: The sending sensor usually has an amber or yellow light. This should always be solid.
- Green Light: The receiving sensor usually has a green light. If this is flickering or off, your sensors are misaligned.
Clean the lenses with a rag. Spiderwebs and dust love to collect there. Wiggle the bracket until the green light turns solid. If the sun is shining directly into the receiving eye (this happens a lot in the late afternoon), it can blind the sensor. You might need to build a little cardboard shade around it or swap the sides the sensors are on.
The Logic Board: The Brain Might Be Fried
If you have tried the lock button, new batteries, reprogramming, and checked for interference, and it still won't work, we have to look at the logic board. This is the computer inside the motor housing.
Logic boards can go bad from power surges or nearby lightning strikes. A tell-tale sign of a bad logic board is if the "Learn" LED light doesn't come on at all when you push it, or if it stays on permanently and won't turn off.
Another symptom is range issues. If the remote works, but only when you are standing 2 feet away from the motor, the receiver on the logic board is failing. Before you replace the board, verify the antenna wire. It should be a short wire hanging down from the back of the motor unit. If someone tucked it up inside the case to make it look "neat," pull it out. It needs to dangle to catch the signal.
Replacing a logic board isn't too hard-it's usually just a few screws and some wire plugs-but it costs around $80 to $100. At that point, depending on the age of your opener, you might just want to buy a whole new unit.
Wiring Issues at the Wall Control
Sometimes the problem isn't the remote; it's the receiver that listens to the remote. And sometimes, that receiver gets its signals mixed up if the wall control wiring is bad.
This is less common for remote failure, but worth a look. Follow the wires from your wall button up to the motor. Are they stapled to the wall? Sometimes a staple is driven too tight and cuts the insulation, causing a short circuit. If the wires are touching, the opener might act like the button is being pressed constantly, which jams the frequency for the remote.
A Quick Note on "Universal" Remotes
If you are using a generic "Universal" remote you bought at Home Depot instead of a genuine LiftMaster one, the troubleshooting is slightly different. Those remotes have internal dip switches or distinct programming modes.
If a universal remote stops working, it often means the internal settings slid out of place. Pop it open and check the manual to see if it is set to the right "brand" mode. LiftMaster usually requires a specific setting. Personally, I always recommend sticking to OEM (Original Equipment Manufacturer) remotes. They are more reliable and usually only cost about $5 more.
Summary of Learn Button Colors
I mentioned this earlier, but it helps to know exactly what you are working with. LiftMaster uses color codes for their radio frequencies. This helps if you need to buy a replacement remote.
- Yellow Button (Security+ 2.0): This is the newest tech (2011 to present). It uses a yellow antenna wire. It is very secure and rarely has interference issues unless you have those bad LED bulbs.
- Purple Button (Security+ 315 MHz): Used from roughly 2005 to 2011. Has a purple antenna.
- Red or Orange Button (Security+ 390 MHz): Used from 1997 to 2005. This is rolling code technology.
- Green Button (Billion Code): Used from 1993 to 1997. It’s pretty old tech. If you have this, your opener is over 25 years old and you should probably thank it for its service and get a new one.
When to Call a Pro
I am all for DIY, but there is a limit. If you have reset the memory, bought new remotes, and the wall button works but the radio signals just wont pick up, you might have a deeper electrical issue. Garage door technicians have signal analyzers that can detect if something in your neighborhood (like a nearby radio tower or a neighbor's ham radio) is jamming the signal.
Also, please be careful. Garage door springs are under massive tension. We are just talking about remotes and motors here, but never mess with the springs or the cables attached to the bottom of the door. That is dangerous stuff.
Final Thoughts
90% of the time, your LiftMaster remote isn't broken. It's just confused, battery-dead, or locked out by the wall switch. Start with the easy stuff. Don't panic and buy a new motor until you've checked that little "Lock" button. It's saved me a service call fee more than once.
Frequently Asked Questions
Why does my LiftMaster remote work sometimes but not others?
This is usually interference or a weak battery. If it works close up but not from the street, change the battery first. If that doesn't help, check for LED bulbs in the garage or nearby electronics that might be jamming the signal.
How do I know if my garage door opener logic board is bad?
If you cannot program any remote, even a brand new one, and the wall switch still works, the radio receiver on the logic board is likely dead. Also, if the "Learn" light never turns on or never turns off, the board is toast.
Can I use any remote with my LiftMaster opener?
No. You need a remote compatible with your specific "Learn" button color. While "Universal" remotes exist, they still need to be compatible with LiftMaster's rolling code technology (Security+). Always check the packaging.
Why is the light on my wall control blinking fast?
That means the "Lock" mode is engaged. The opener will not accept signals from hand-held remotes while this is blinking. Press and hold the Lock button for 2 seconds to turn it off.
Do I need to reprogram the remote after changing the battery?
Usually, no. The remote has a non-volatile memory, meaning it remembers the code even without power. However, if the battery was dead for a very long time, or if buttons were pressed while the battery was dying, it might need a quick reset.